A new asphalt driveway or lot goes down fast — often in a single day — but the quality is decided in the steps most people never see. Knowing the process helps you recognize a job done right and spot corners being cut. Here's exactly what a proper asphalt installation looks like from start to finish.
Step 1: Site Evaluation and Estimate
It starts with a walk of the property. We check the existing surface (if any), soil conditions, slope, and — critically for Florida — how water moves across the site. This determines the base depth, thickness, and drainage plan. Anyone who quotes without seeing your site is guessing.
Step 2: Demolition and Removal
If there's old asphalt or concrete, it gets removed and hauled off. For a fresh install on bare ground, this step is skipped — but any vegetation, roots, or unstable material has to come out first.
Step 3: Grading and Sloping
The surface is graded to the right pitch so water runs off and away — never toward your garage or into low spots. In Florida this step is non-negotiable. Standing water is the fastest way to destroy asphalt, so proper slope is engineered before anything else goes down.
Step 4: The Base
A crushed-aggregate base is laid and compacted — typically 4–8 inches depending on the load the surface will carry. This is the foundation, and on Florida's sandy soil it's where a driveway lives or dies. The base is compacted in layers until it's rock solid.
You can't see the base once the asphalt is down — which is exactly why cheap crews skimp on it. A great surface over a weak base fails in a few seasons.
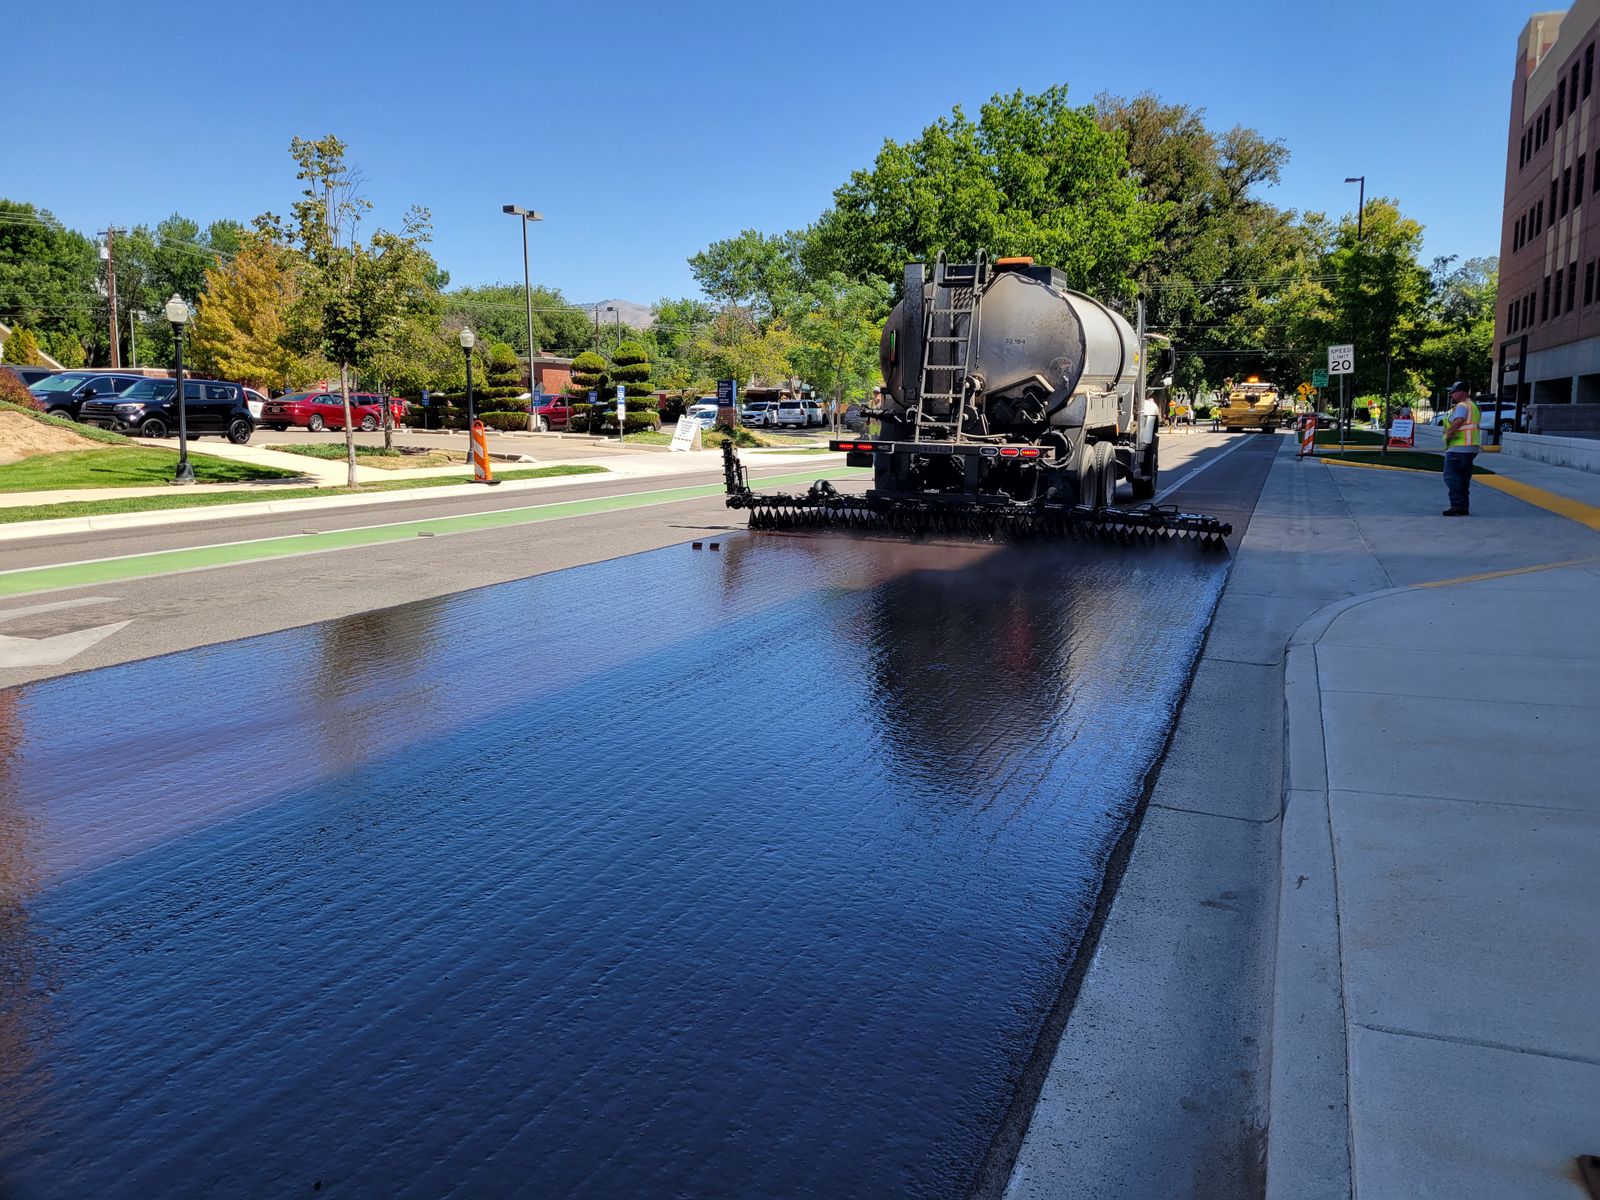
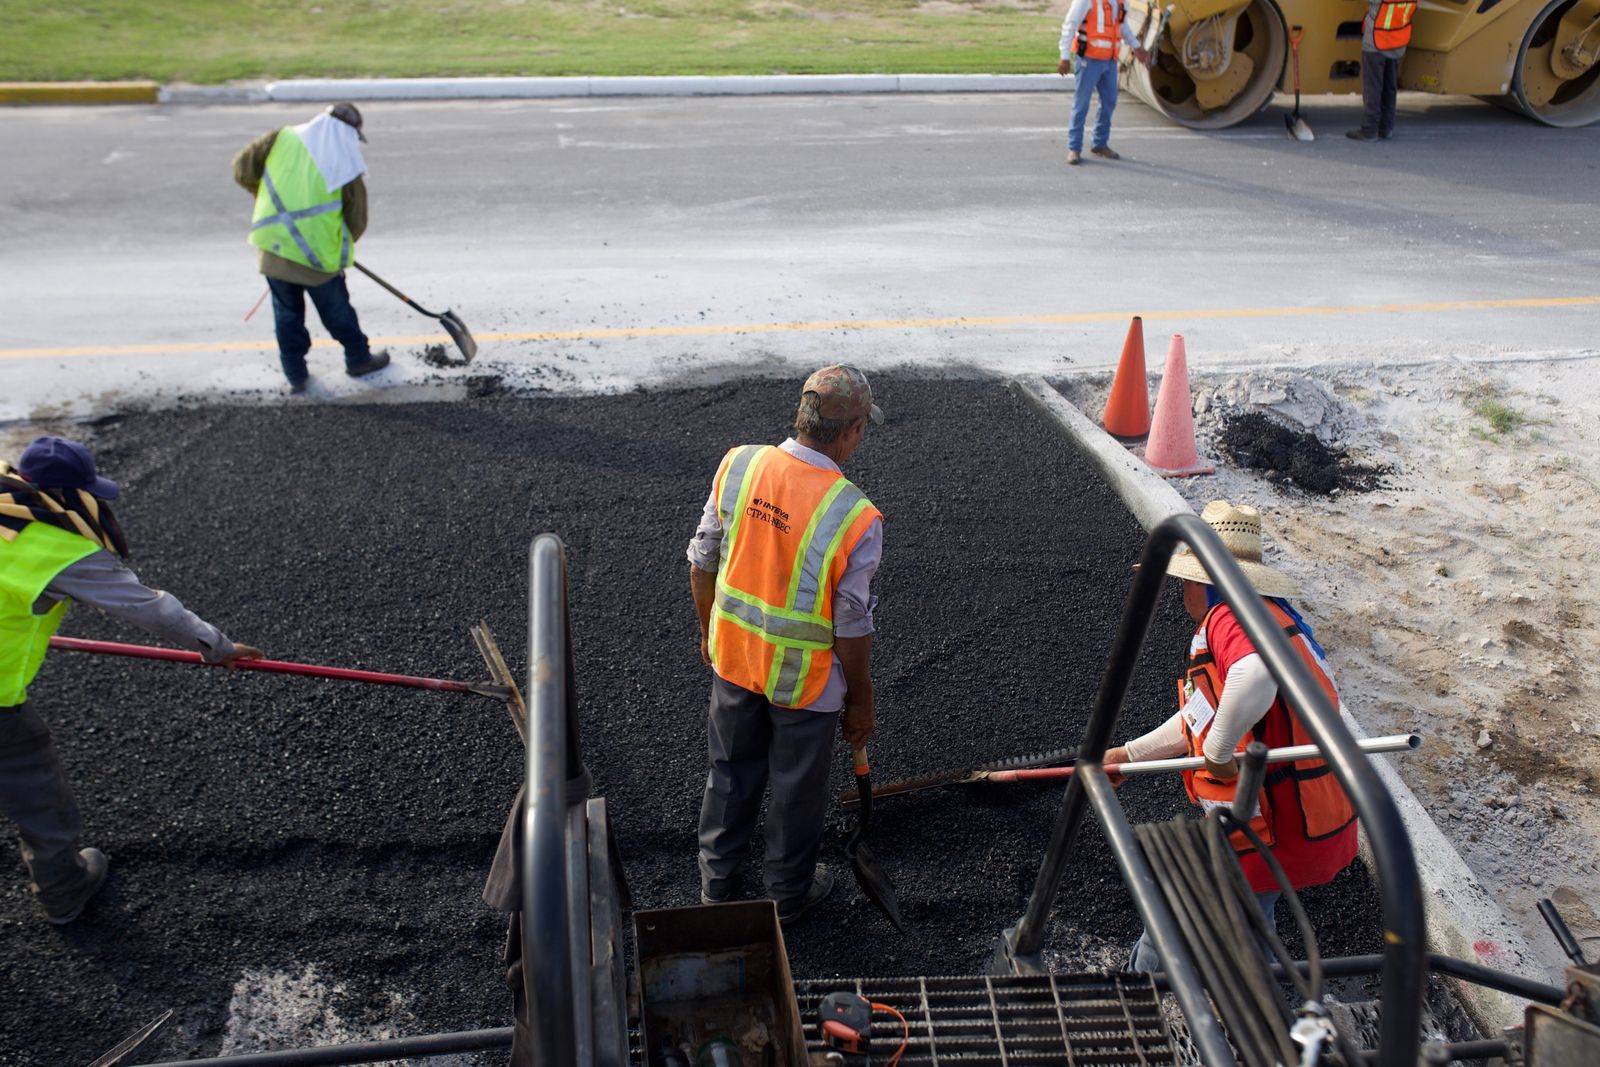
Step 5: Laying the Hot-Mix Asphalt
Hot-mix asphalt arrives around 275–300°F and has to be placed and worked while it's hot. It's spread by a paver to a uniform depth — usually 2–3 inches for residential, 3–4+ for commercial. Timing matters; the crew works quickly and efficiently before the mix cools. Curious why the mix itself matters? We cover it in what hot-mix asphalt is and why it matters.
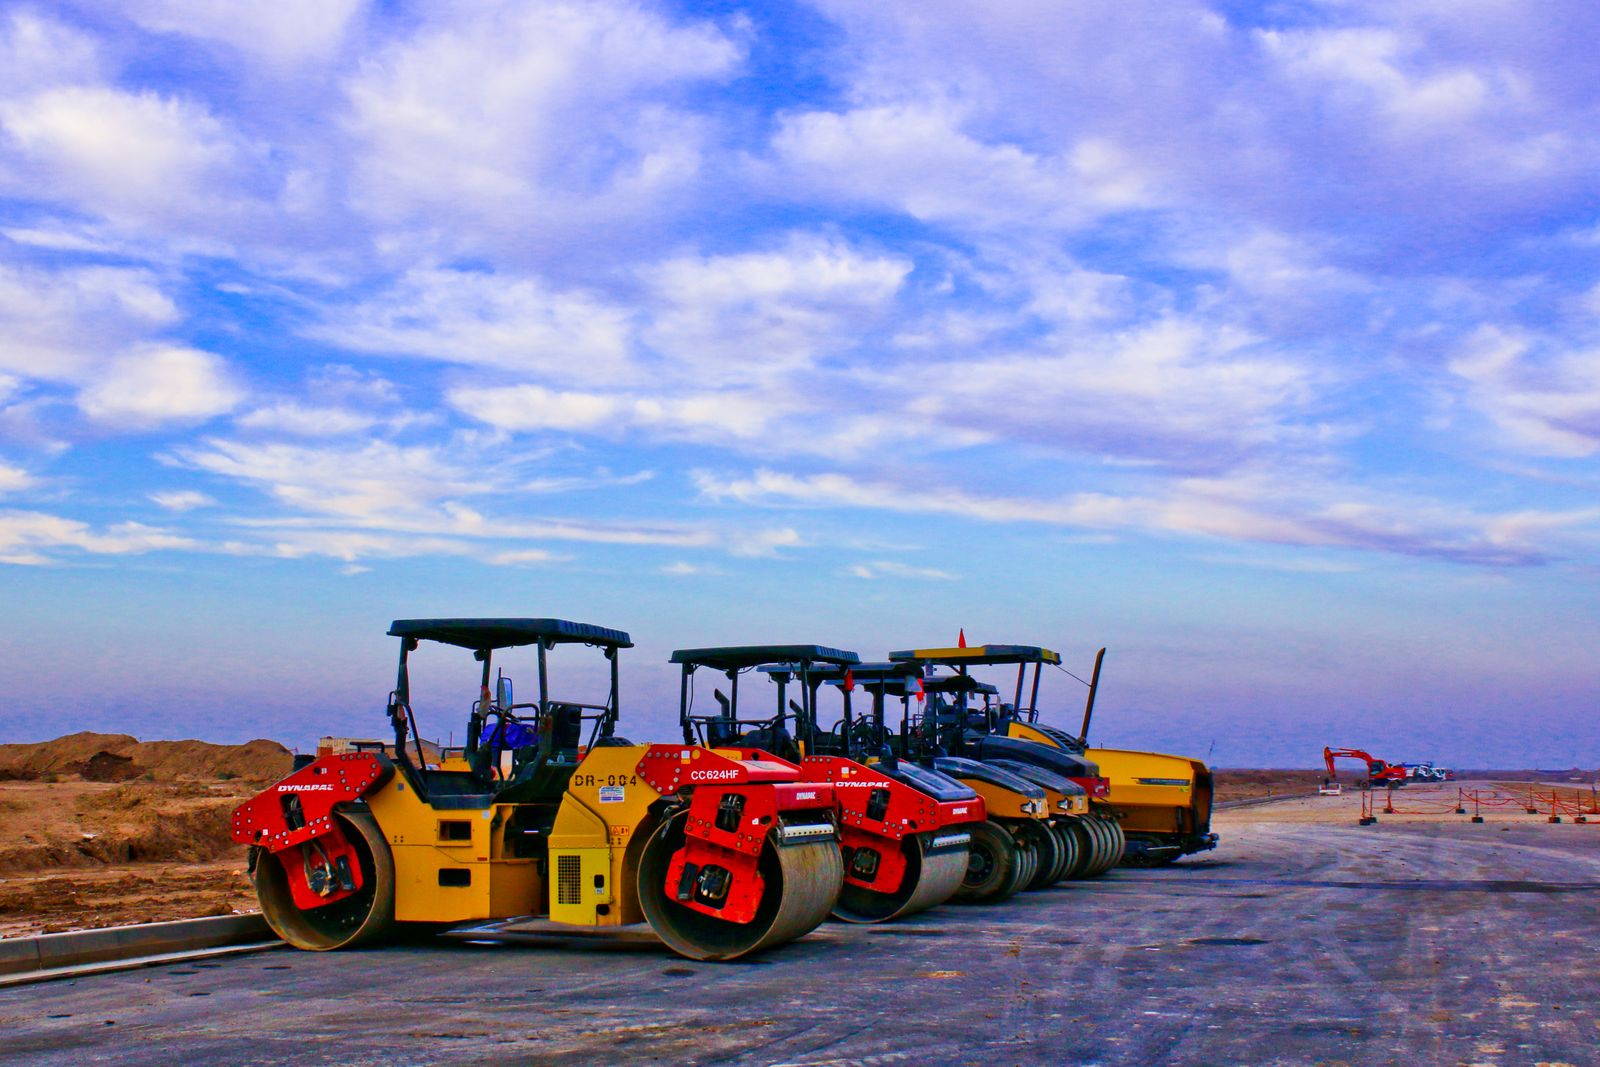
Step 6: Compaction
Heavy rollers compact the fresh asphalt to lock out air and water and lock in strength. Proper compaction is what gives asphalt its smooth, dense, durable finish. Edges are shaped and beveled so they hold up under tire load.
Step 7: Curing
New asphalt is drivable within a day or two but keeps curing for 60–90 days. During this window it's more prone to scuffing and marking, especially in Florida heat. We'll give you a few simple do's and don'ts — avoid parking in the same exact spot, keep sharp turns to a minimum, and hold off on the first sealcoat until it's fully cured.
What Good Looks Like
- Uniform surface with no low spots that hold water
- Clean, defined edges
- Consistent thickness — no thin patches
- Water that sheets off and away from structures
- A written scope listing base depth and asphalt thickness
Ready to Start?
A quality install is a same-day surface built on days of preparation done right. If you want paving done by a crew that treats the base like it matters — because it does — reach out for a free estimate. We'll spell out every step before we start.
Need a Free Estimate?
Iron Ridge Pavement gives upfront, no-obligation pricing on paving, sealcoating, striping and repairs across Florida.